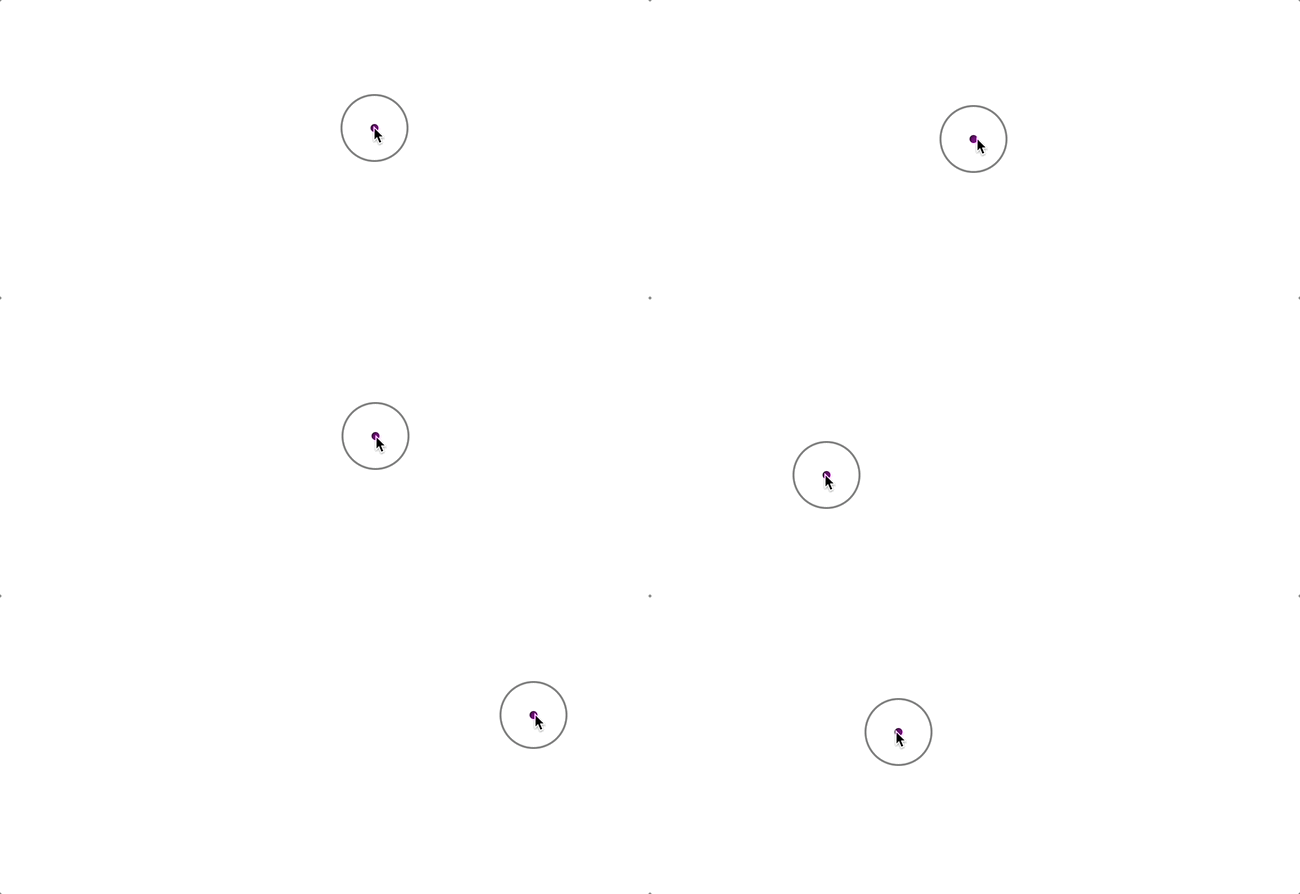
You've probably seen those sleek cursors on creative websites and wondered how they are made. In this mini tutorial, I'll walk you through how to create a custom circle cursor that follows the mouse—and you'll see it's actually simpler than it looks!
Step 1: HTML & CSS
To start with, we need an HTML element that will act as our custom cursor, along with some basic styles to shape and position it:
<div id='custom-cursor' />#custom-cursor {
position: fixed;
width: 64px;
height: 64px;
border: 2px solid gray;
border-radius: 50%;
pointer-events: none;
transform: translate(-50%, -50%);
transition: transform 0.2s ease-in-out;
z-index: 9999;
}
#custom-cursor::before {
content: '';
position: absolute;
left: 50%;
top: 50%;
transform: translate(-50%, -50%);
width: 8px;
height: 8px;
background-color: purple;
border-radius: 50%;
}Step 2: Javascript & Mouse Tracking
Next, we use Javascript to track the mouse position and update the custom cursor accordingly:
const cur = document.getElementById('custom-cursor')

window.addEventListener('mousemove', (e) => {
  cur.style.left = e.clientX + 'px'
  cur.style.top = e.clientY + 'px'
})
And that's it—now we have a smooth circle cursor that follows our mouse.

Conclusion
In this tutorial, we built a stylish, modern-looking cursor—the kind often seen on interactive sites. With just HTML, CSS, and several lines of Javascript, you can create a surprisingly polished user interaction.
Beyond aesthetics, a custom cursor like this can also offer usability benefits. Its larger size can improve visibility and accessibility for users with visual or motor impairments—making your site not just cooler but more inclusive as well.
Of course, this is just the beginning. You can customize the cursor's shape, color, size, or even animate it with libraries like GSAP for more sophisticated effects. The point is, creative designs do not necessariy require complicated code.