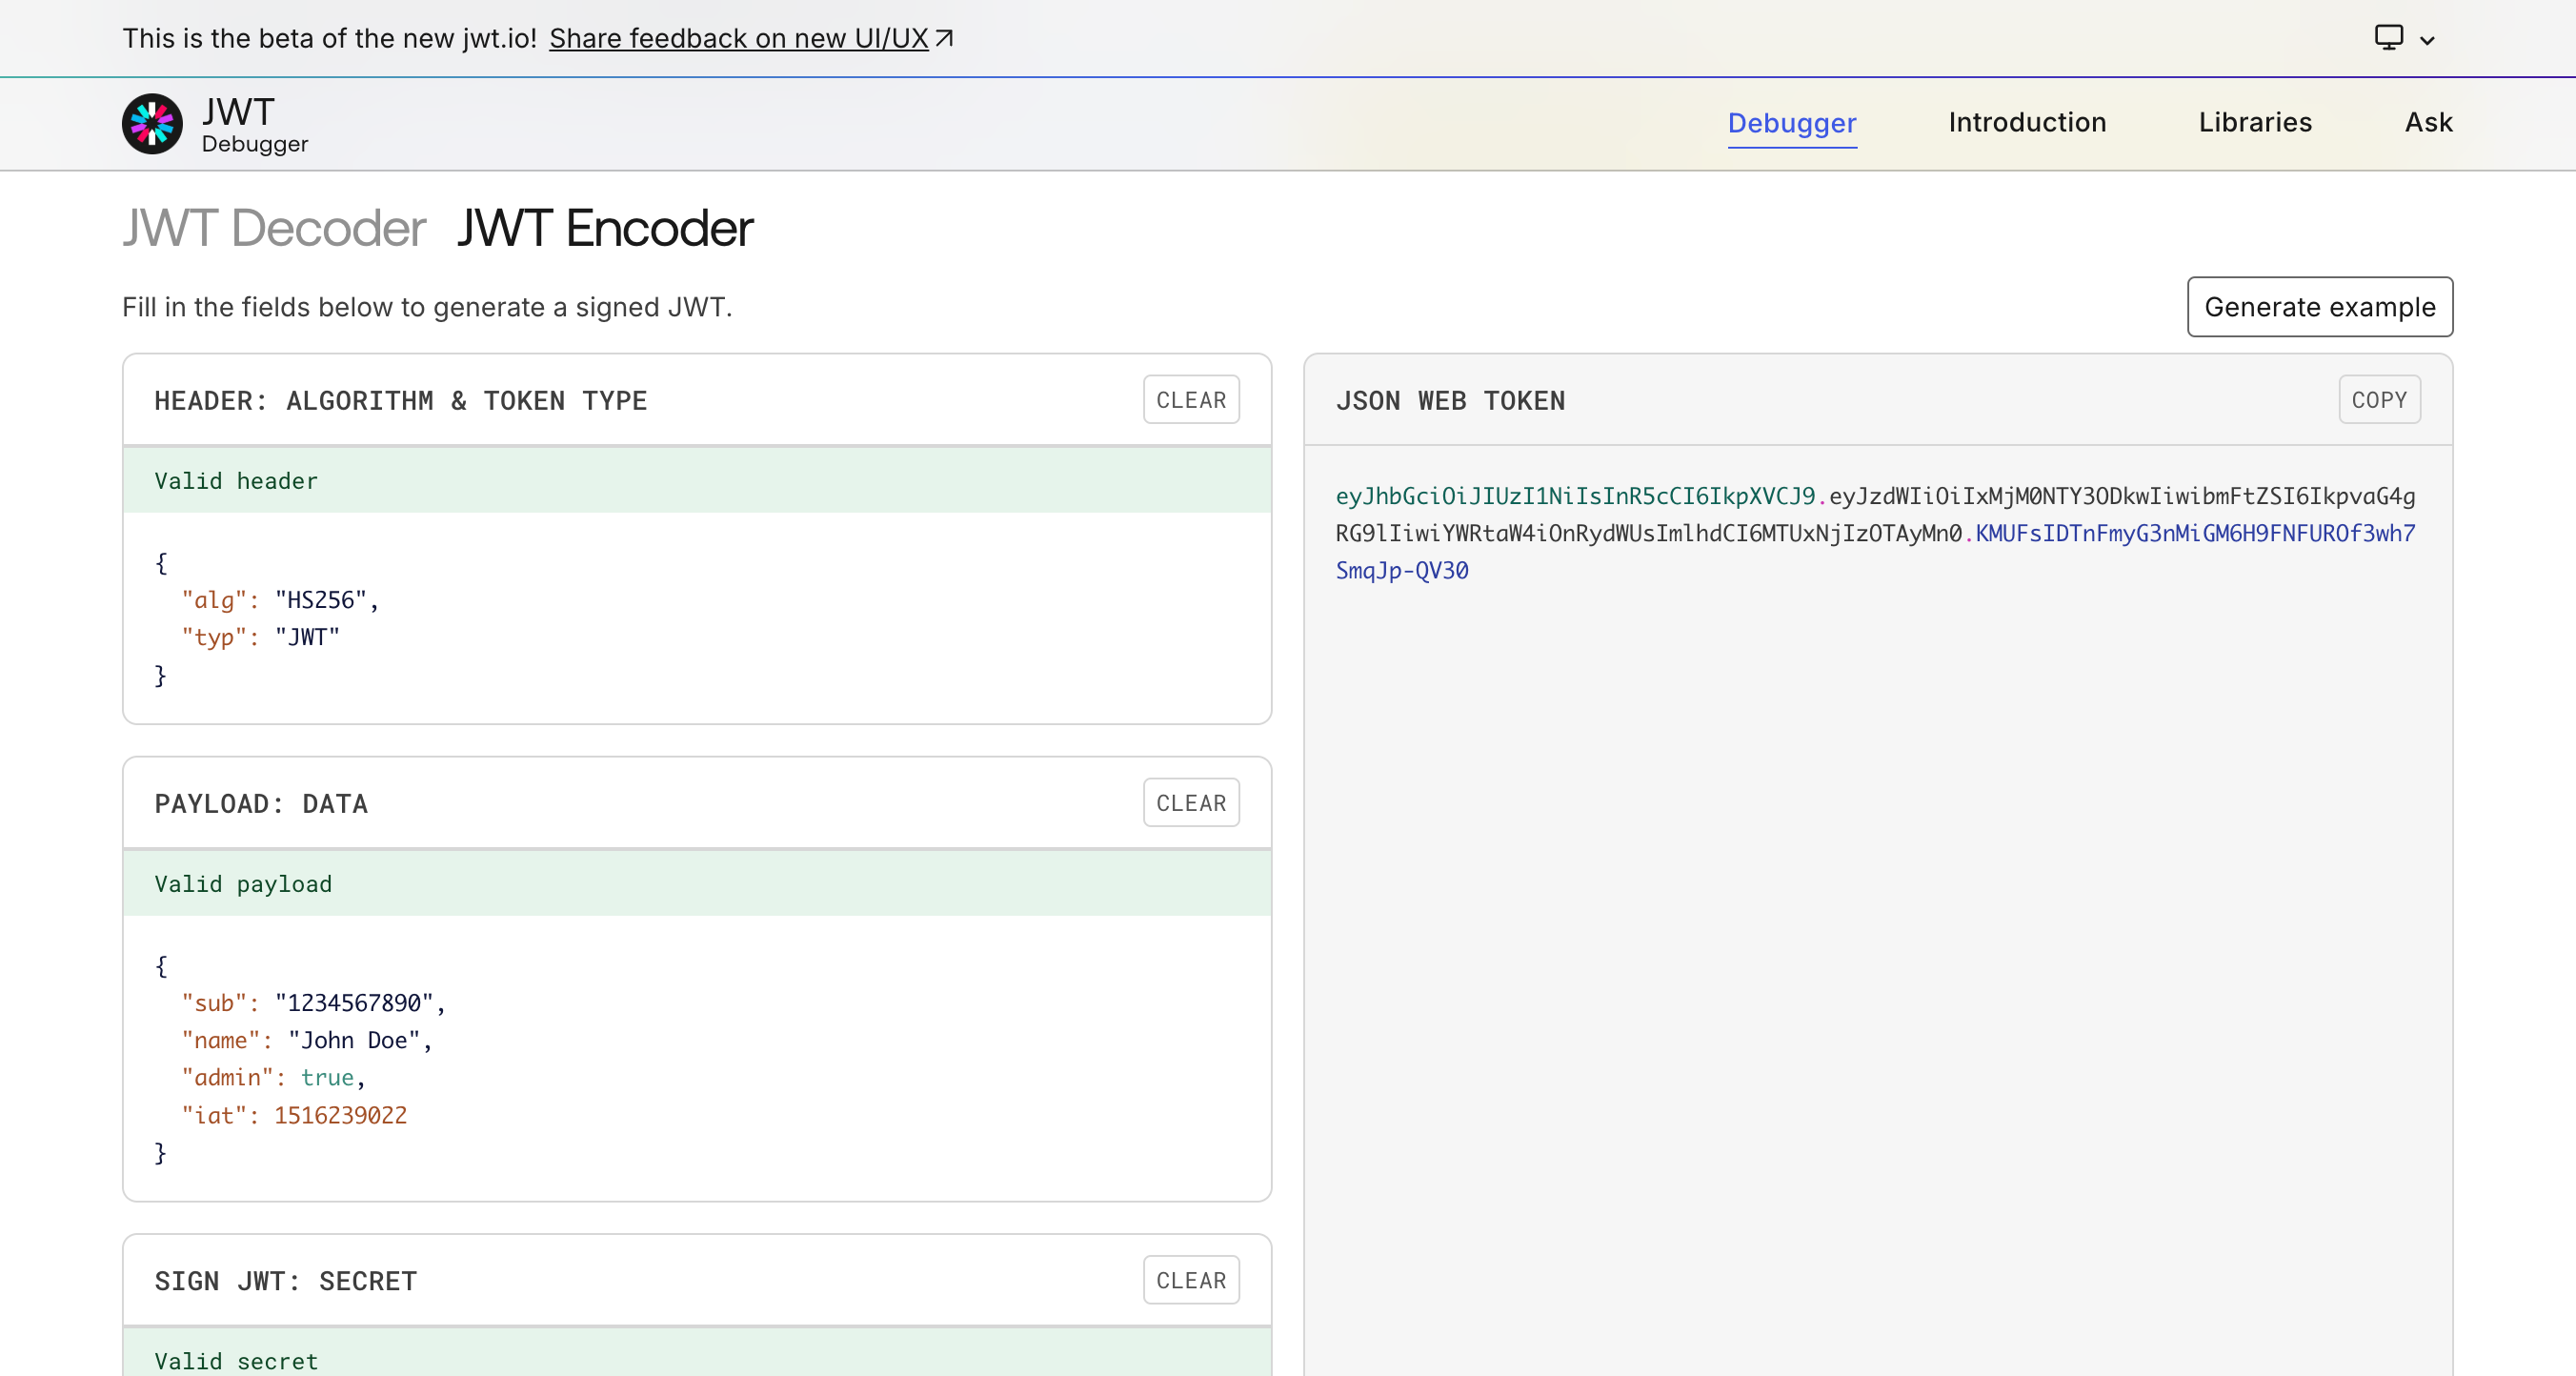
JWTs offer several advantages over traditional authentication methods like cookies, making them a popular choice in modern web development. In this series, we will explore the basics of JWTs, how they are generated, different strategies for signing them, and how to implement an authentication system in Next.js using JWTs.
What is A JWT
According to JWT Debugger, JWT stands for JSON Web Token, a compact and self-contained way to transmit data as JSON objects between parties. JWTs are signed, allowing the recipient to verify their authenticity and trust the included information. We will dive deeper into signing in the next part of the series.
The key advantages of JWTs for authenticatioin include:
- Stateless authentication – JWTs are self-contained, meaning they carry all the necessary authentication data, eliminating the need to store session data on the server. This enables better scalability.
- Compact structure – JWTs are small in size, making them efficient for transmission over networks, including in HTTP headers.
- Security – Since JWTs must be signed, their integrity and authenticity can be verified, ensuring they haven’t been altered.
- Human-readable format – When decoded, a JWT is simply a JSON object, making it easy to understand and debug.
JWT Components
A JWT consists of three parts: a header, a payload, and a signature. These three components are Base64Url-encoded and concatenated using dots (.).
header.payload.signature1. Header
The header typically contains metadata about the token, including the signing algorithm (alg) and token type (typ).
{
  "alg": "HS256",
  "typ": "JWT"
}
In some cases, an optional kid (key ID) field may be included, which allows the authentication server to identify which key was used for signing. This is useful when key rotation is in place.
2. Payload
The payload contains claims, which are pieces of information about the token’s subject. Claims are divided into three types.
a. Registered claims
Registered claims are predefined by the JWT standard. They are optional but widely used:
iss(issuer): Issuer of the JWTsub(subject): Subject of the JWT (the user)aud(audience): Recipient for which the JWT is intendedexp(expiration time): Time after which the JWT expiresnbf(not before time): Time before which the JWT must not be accepted for processingiat(issued at time): Time at which the JWT was issued; can be used to determine age of the JWTjti(JWT ID): Unique identifier; can be used to prevent the JWT from being replayed (allows a token to be used only once)
b. Public claims
Public claims are custom claims meant to be shared across multiple systems. To avoid conflicts, it’s recommended to register them with IANA. Before registering a new claim, you should check whether a similar one already exists to avoid duplication.
c. Private claims
Private claims are custom claims intended for use within a single application or system.
Example JWT payload
{
  "sub": "1234567890",
  "name": "John Doe",
  "admin": true
}
In this example,
sub: a registered claimname: a public claimadmin: a private claim
3. Signature
The signature ensures the integrity of the token and verifies that it hasn’t been tampered with. It’s generated using the header, payload, and a secret key.
For example, if using HMAC SHA256, the signature is calculated as:
HMACSHA256(
  base64UrlEncode(header) + "." +
  base64UrlEncode(payload),
  secret
)
The recipient can verify the signature using the same secret key (for symmetric algorithms) or a public key (for asymmetric algorithms). We will discuss both strategies in the next part of the series.
How to Generate JWTs
To see how JWTs are structured and generated, visit JWT Debugger.

You can experiment with encoding and decoding JWTs in real time to better understand how the components interact.
Conclusion
In this first part of the series, we explored the basics of JWTs, their advantages, and their structure. We also covered the different types of claims and how JWTs are generated.
In the next part, we will examine different JWT signing strategies and how authentication works in practice using JWTs.